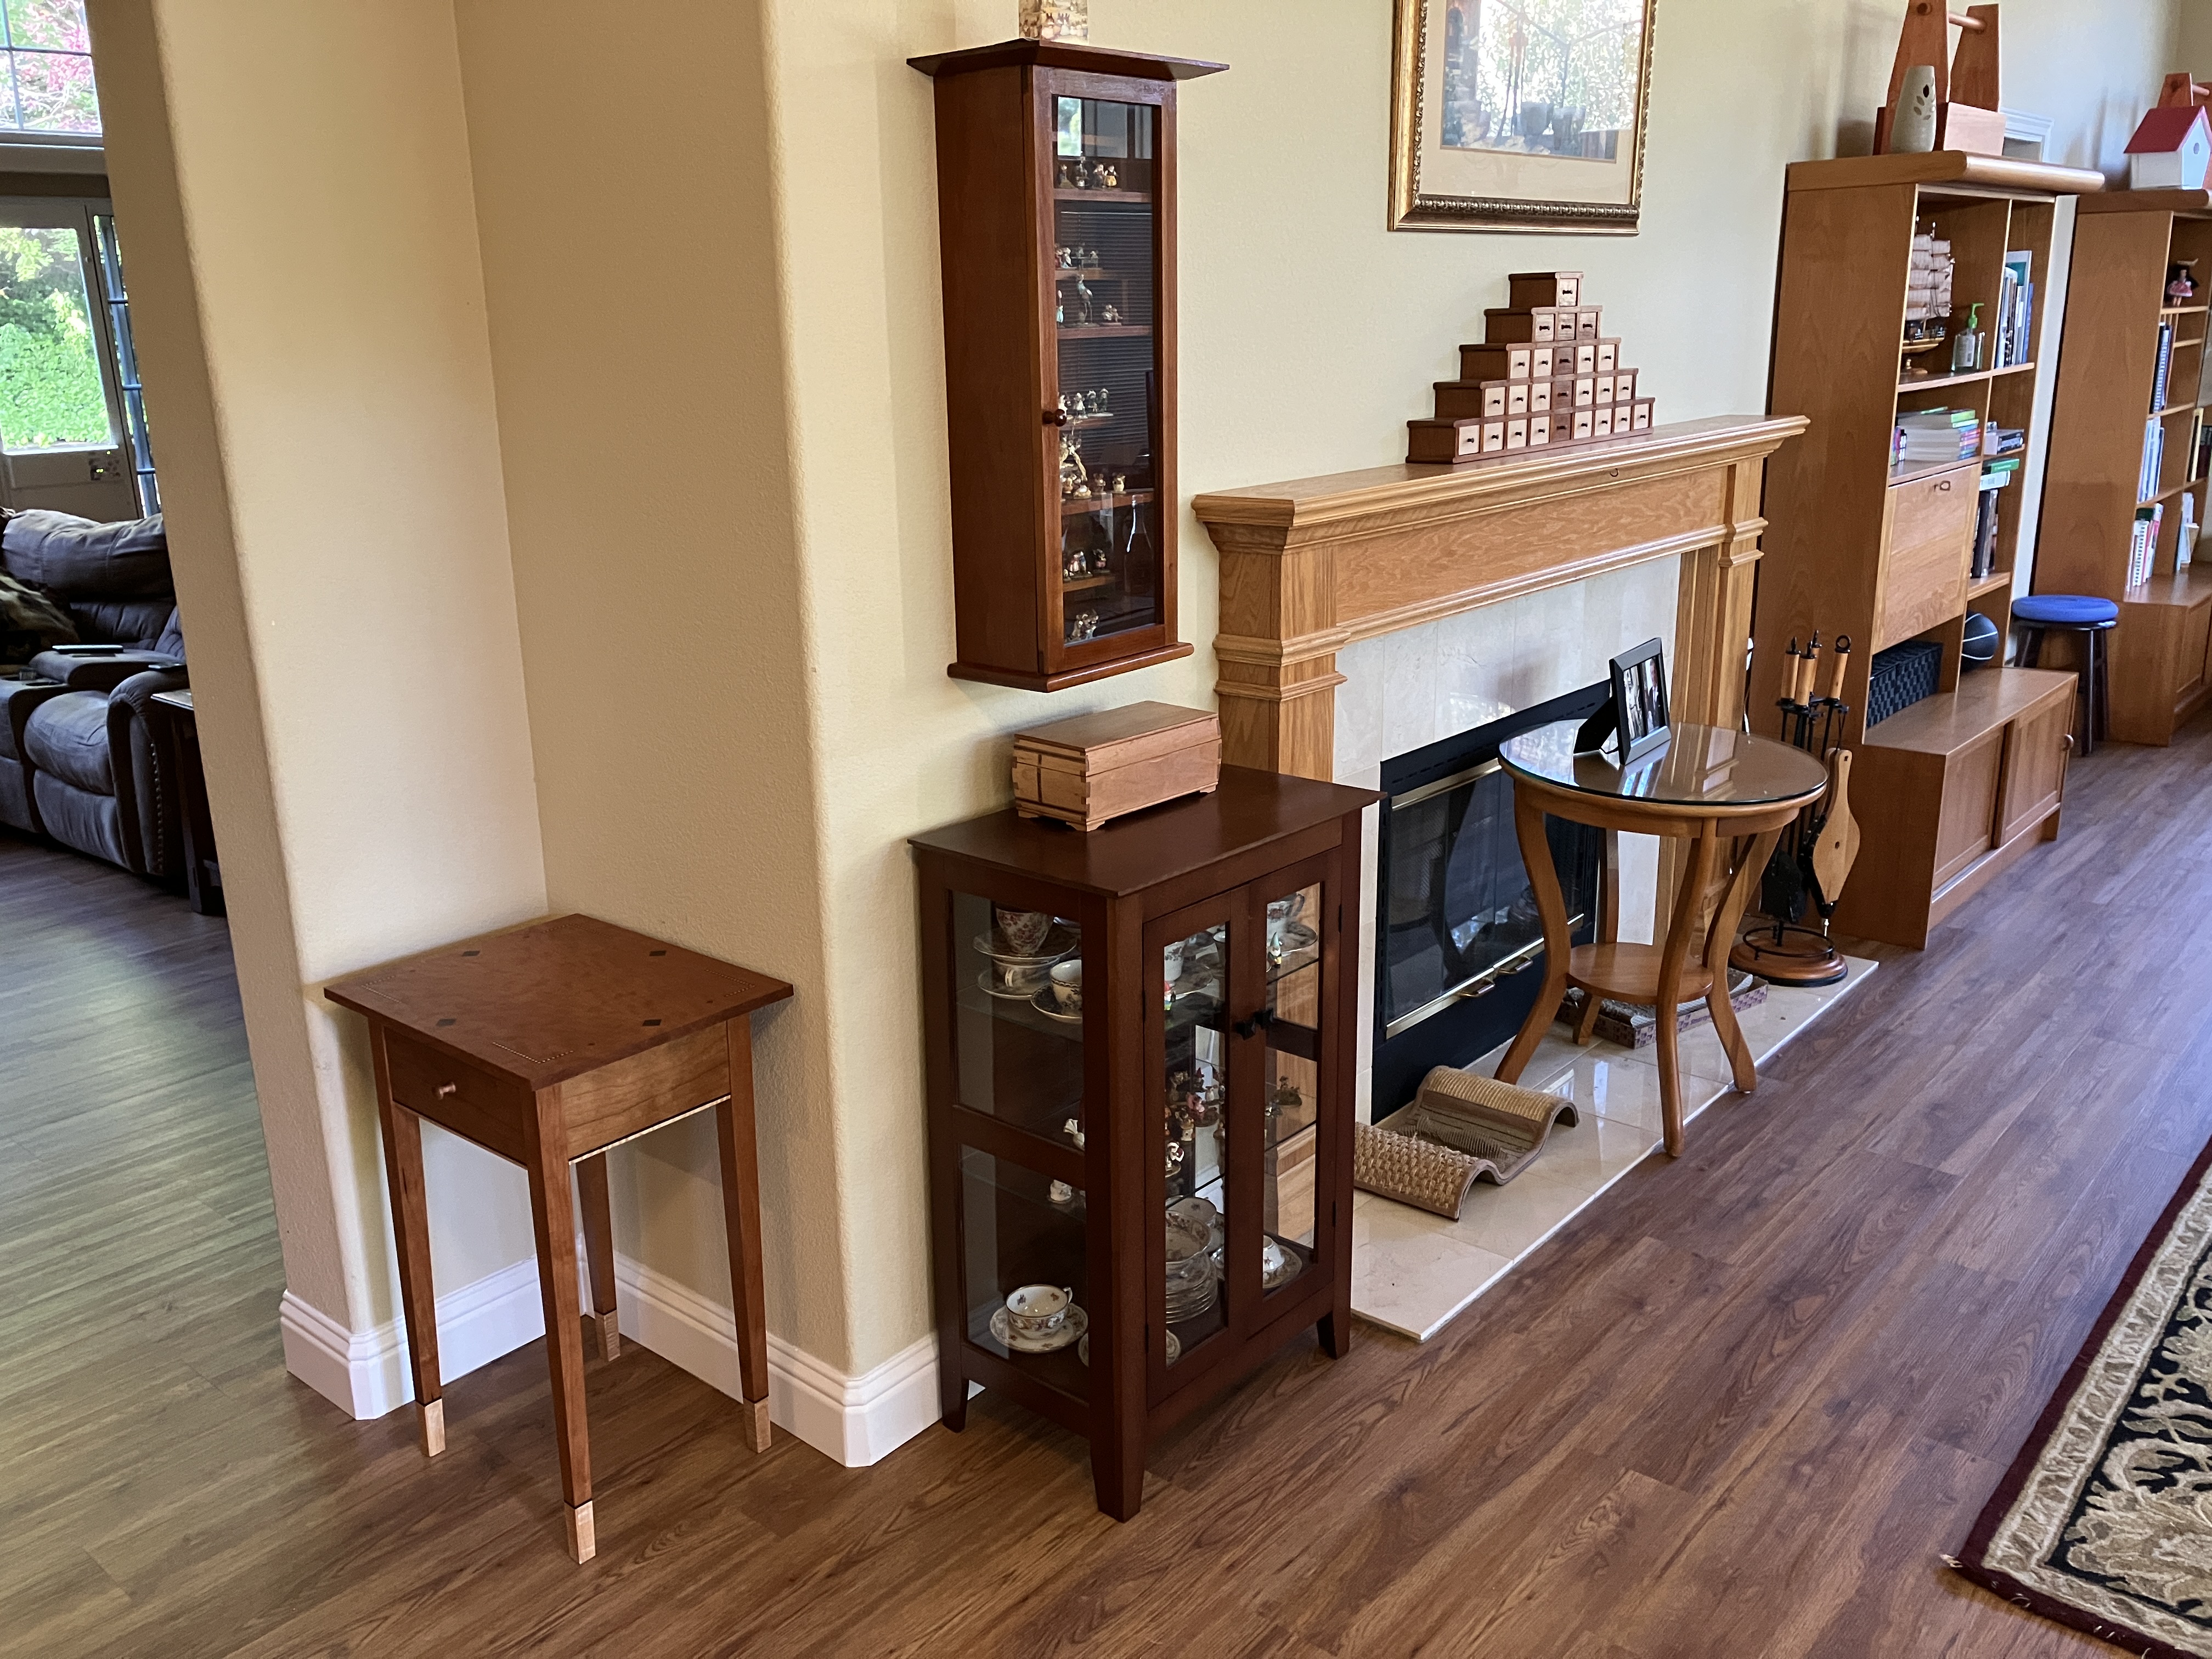
In 1st quarter of 2023, I took the Wood Working 2 class for the Mount Diablo Adult Education school. The prior quarter I had taken WW1 from them. The piece we were assigned to make was this shaker nighstand. The were several reasons I took the class: more exposure to woodworking machines (I have very few at home), completion of this class opens up access to all the other woodworking classes, I like the instructor, I like taking a class one night a week (breaks things up).


There were a few things at the outset that I decided to do differently:
I was going to be selective in terms of what machines I would and wouldn't use. For example, I just don't like routers and jointers, as such I wasn't going to use them and I would find other ways to get things done. In my mind, this would be a bit closer to how I wanted to woodwork at home.
I was going to be nice wood. It was going to be chery as that's my favorite. The top was going to be nicely figured cherry (quilted cherry). The sides would be plain cherry. The legs would be rift sawn. Since I knew what the project for this class was well in advance, I ordered the wood October so that it would have 3 months to equilibrate/dry.
I was going to see how quickly I could get it done. I wanted the table but I wasn't going to be extra fussy over it. I wanted just the simple wood to speak for itself.
How did I do? Points 1 & 2 I stuck to. Point 3 fell by the wayside. I was making good progress on the piece and would have likely finished it up half way through the class. Then, I saw two things that inspired me enough to do a change in plans. On instagram, MeridithHeartFurniture showed some images with really nice inlay on the top of her piece (Meredith Hart (@meredithhartfurniture) | Instagram). I wanted to do something similar. Within a week of that, Tom MuLaughlin of Epic Woodworking did a video on putting cuffs on furniture (https://www.youtube.com/live/FUKjJFK177w?feature=share). I liked that as well and wanted to do that. Now, if I had planned to do these from the onset, I would have done it differently. As such, it was a bit more difficult to do. Overall, this was fun work that required great focus. I probably spent 40 to 50 hours on the overall build without taking into account the inlay. I think I spent 100+ hours to do all this inlay (150 hours total).
I am happy with the way it came out. The top is a bit more formal that I would normally build for myslef but overall I like it. What I also discovered is that I really like Tried and True Linseed oil finish. It's the second or third time I've used it. I like the look it has with cherry. For almost all of the pieces I've made over the last 7ish years, I've used shellac and have really liked the look of shellac. I will likely finish more of my pieces with the Tried and True oil. It's not an either or situation.
The construction itself was straight forward. I resawed the top to mirror the grain in the curly cherry. The riftsawn legs came from on 8 quarter piece. I had a few sides where it wasn't perfectly riftsawn so those were faced inside and in the back.


For the dovetails, I had the space between the tails at 1/8". I like it and this is the narrowest gap I've used to date. I think I want to make some future drawers with a 1/16" gap between dovetails to see how that looks. For the back of the drawer, I did a more fancy (in my mind) connection. I used a dado that that had through wedged tenons. It came out nice as well.


The top was connected with turn buttons.

The inlay was all done by hand and most of it was from 1/8" thick ebony and figured maple. I bought the inlay banding and forget it's components. I also learned that if the edges of the inlay are black, it helps to hide any gaps. I also like the drawer, sides, and back of the piece also have inlay. It doesn't jump out but is a nice touch that gets noticed on a third look over.


The finish as I mentioned was Tried and True partially polymerized linseed oil. I did four coats of their varnish (0000 steel wool between each) and then two coats of their partially polymerized linseed oil with beeswax. I followed the instructions to the letter with one exception - I wait a full week between coats. In between coats, I took it outside to sunbathe and to darken the cherry. It made a noticeable difference. I figure a longer wait can't hurt, except it tries my patience. All in all, I'm very happy with how it turned out. Little by little my house is getting filled with furniture nicer than I could afford to purchase.


That's a fantastic project, Joe!! Congratulations! The figure on the top is great. And I was wondering about how the feet were done. Looks like I suspected, but I thought you might cut the feet where you glued on the maple and ebony before they were tapered. They look already tapered in the photo - is that right? All in all, a great project and lots of learning in the process.
ReplyDeleteThanks for the kind comments. The feet were tapered before I put on the ebony and maple. The decision to inlay was a last minute audible literally just before glue up. If I were to do it over again, I would have created some sort of mortise and tenon (or dowel) and glued on the maple with the ebony sandwiched between on the square stock just like you mentioned. Would have made things much easier.
ReplyDeleteI like the inlays you did a lot. Especially so that they are stopped and not continuous. Are the diamond shaped ones ebony or dyed wood?
ReplyDeleteHi Ralph. Thanks for the kind words. Took a lot of time to do the inlay and I'm really happy with how it turned out. Future work will have embellishments for sure. The diamond ones are ebony. I purchased some 1/8" thick strips of ebony from eBay that were 2 or 3" wide (planning to use it eventually for cock-beading on a drawer on a future project). I just ripped some down to various widths to have in the shop. Then I crosscut to get squares.
Delete