05 August 2023

For One Board, I Will Do It by Hand

 As part of the initial stages of the build for Becksvoort's 15 drawer chest, I need to thin down my 7/8" thick wood.  When I had a lot of boards to do, I used a planer.  I could have used the one I own (DeWalt 735).  However, I had access (because I was taking a class) to the Mount Diablo's Adult Education woodshop.  They have nice tools.  I think it took me all of 20 minutes to get this wood to desired thickness.  It would have taken many hours by hand and I wouldn't have enjoyed that much work.


Having said that, it doesn't mean I won't or don't want to thickness by hand.  I like being able to confirm from time to time that I can indeed do it by hand.  I just want to have a ton of donkey work to do.  As I was cutting up the boards, I realized that I needed to glue up some boards to get to the desired thickness.  No problem in doing that.  However, one of the boards I needed to use (for a different stash of wood I hadn't planed to use for this project) was 1/16" wider that the rest.  I could have wheeled out my DeWalt 735 but for one board, that seemed like a hassle.  As such, I did it by hand.  Took all of 20 minutes by hand.  I don't think between getting the DeWalt 735 out, hooked up to dust collection, running the piece, and putting everything back in place would have been much faster.  Plus, I got some good exercise.  As such, sometimes doing it by hand (for one board in this case) is just as quick.  For the initial batch of boards, hands down using the mahine was faster and appreciated.  To me it isn't either or for woodworking.  I do mostly prefer to use hand tools but will use machines when it makes sense or suits me.  Having said that, I really only have three machines in my garage, a band saw, planer, and mortiser (for if I have a lot to do).  A dril press is really the only other tool I think I want to get.  Time will tell.


29 July 2023

New Project - Enjoying Each Step and Happy with My Skills


 I've just started a new project that is on my bucket list - Chrisitan Becksvoort's iconic 15 drawer chest.  Lost Art Press published an awesome Becksvoort book entitled Shaker Inspiration.  In this book, there are a baker's dozen of Becksvoort's pieces with measurements.  If you like his work, I highly recommend the book.  


I have ogled over this piece for quite some time. Finally, finally, finally I am starting on it.  Back in 2020 I had purchased cherry to make Mike Pekovic's Shaker chimney cabinet.  As with any project, I purchase excess, just in case.  The excess just in case cherry is what I am using.  I like the connection between the two with the same cherry.  However, all the best pieces were used on the chimney cabinet.  As such, I am having to make some compromises on what is and isn't the best face.  Such is life; I don't want to waste a nice wood and none of it is horrible.  Back in Nov/Dec I had access to a Powermatic 15" planer and took wood off of each side of the remaining boards to get them to the desired thickness.  They were already dry and by taking off of both sides, I didn't expect any wild movement.  These S3S boards remained flat and I was happy.


In past projects, I have always found myself anxious to move onto the joinery work.  I've noticed that now, I enjoy each aspect of the build.  Right now, I'm in the very early stages of breaking down the lumber, figuring which piece out of what wood goes where, hand planeing the boards, ensuring they are twist free, etc.  Each aspect is important (said by Captain Obvious) so I want to get each phase of the build its due.  Wasn't always the case but now I am aligned with this.  Feels good.


What also feels good is when I see an issue with the wood, I don't panic.  I know how to fix it.  In fact, I had a pretty big oops moment.  To get the width I needed, I had to glue up some wood.  I got a good glue joint and that went fine.  What I noticed was that there was a fairly significant hump on what would be the face edge of these pieces.  It was a long board and the hump was significant.  Given I am going to cross cut these up, I realized that I didn't need to remove the hump from the entire boad, just enough to cross cut out the first three pieces.  The worse of the hump was in the fourth piece.  In doing this, it made the job much easier.  After cross cutting them down, that one board took less than a minute to fix.  It would have taken significantly longer to fix if I had tried to do it on the whole board.  I was just happy that I didn't panic, saw this easier way to do it, and was able to execute to plan.  There were a few surprises along the way (not worth elaborating upon) but I easily handled these as well.  It just feels nice to feel comfortable and confident that I can fix things and to get to where i need to be.  I still have lots to learn and still consider myself a beginner woodworker.  I'm just happy I can see progress over time.


I've got a long way to go on this project (guessing it will take me 250 hours of work) and mistakes will be made.  There will be some gaps that annoy me. In the end, I will have a nice piece of furniture and a lot of fun in the process.  Life is good.


22 July 2023

"Scottie, we need more power"

 As is often said by Captain Kirk and most woodworkers when it comes to power in the garage.  Actually, I find it funny/ironic that as primarily a hand tool woodworker, I need more power in the garage.  When I remodeled the garage in 2013, I put in many 120 V outlets (on multiple circuits).  I only put in one 240 V outlet.  Mostly I was ignorant of what power requirements I would have for woodworking machines back then.  The bandsaw I've chosen (PowerMatic PM1500) I need 240 V.  For the eventual dust collector, I will need an additional 240 V outlet.  Not to mention that ductless AC I installed in the garage needed 240 V.  That's a lot of juice for someone who mostly uses hand planes.  Such is life.

The scope of work was to get both a new 240 volt line and then an extension to a 120 V near the 240 V.  Based on where I wanted the dust collector to sit, I figured out the best location for the plugs.  The initial 240 V I had installed was back when I thought I would work like Norm Abrams and it was in a poor location (now that I work with hand tools primarily) so I wanted that moved down the wall closer to where the bandsaw will sit and be used when it is rolled away from the wall.  While I have electricians there, I want more light above the workbench.  


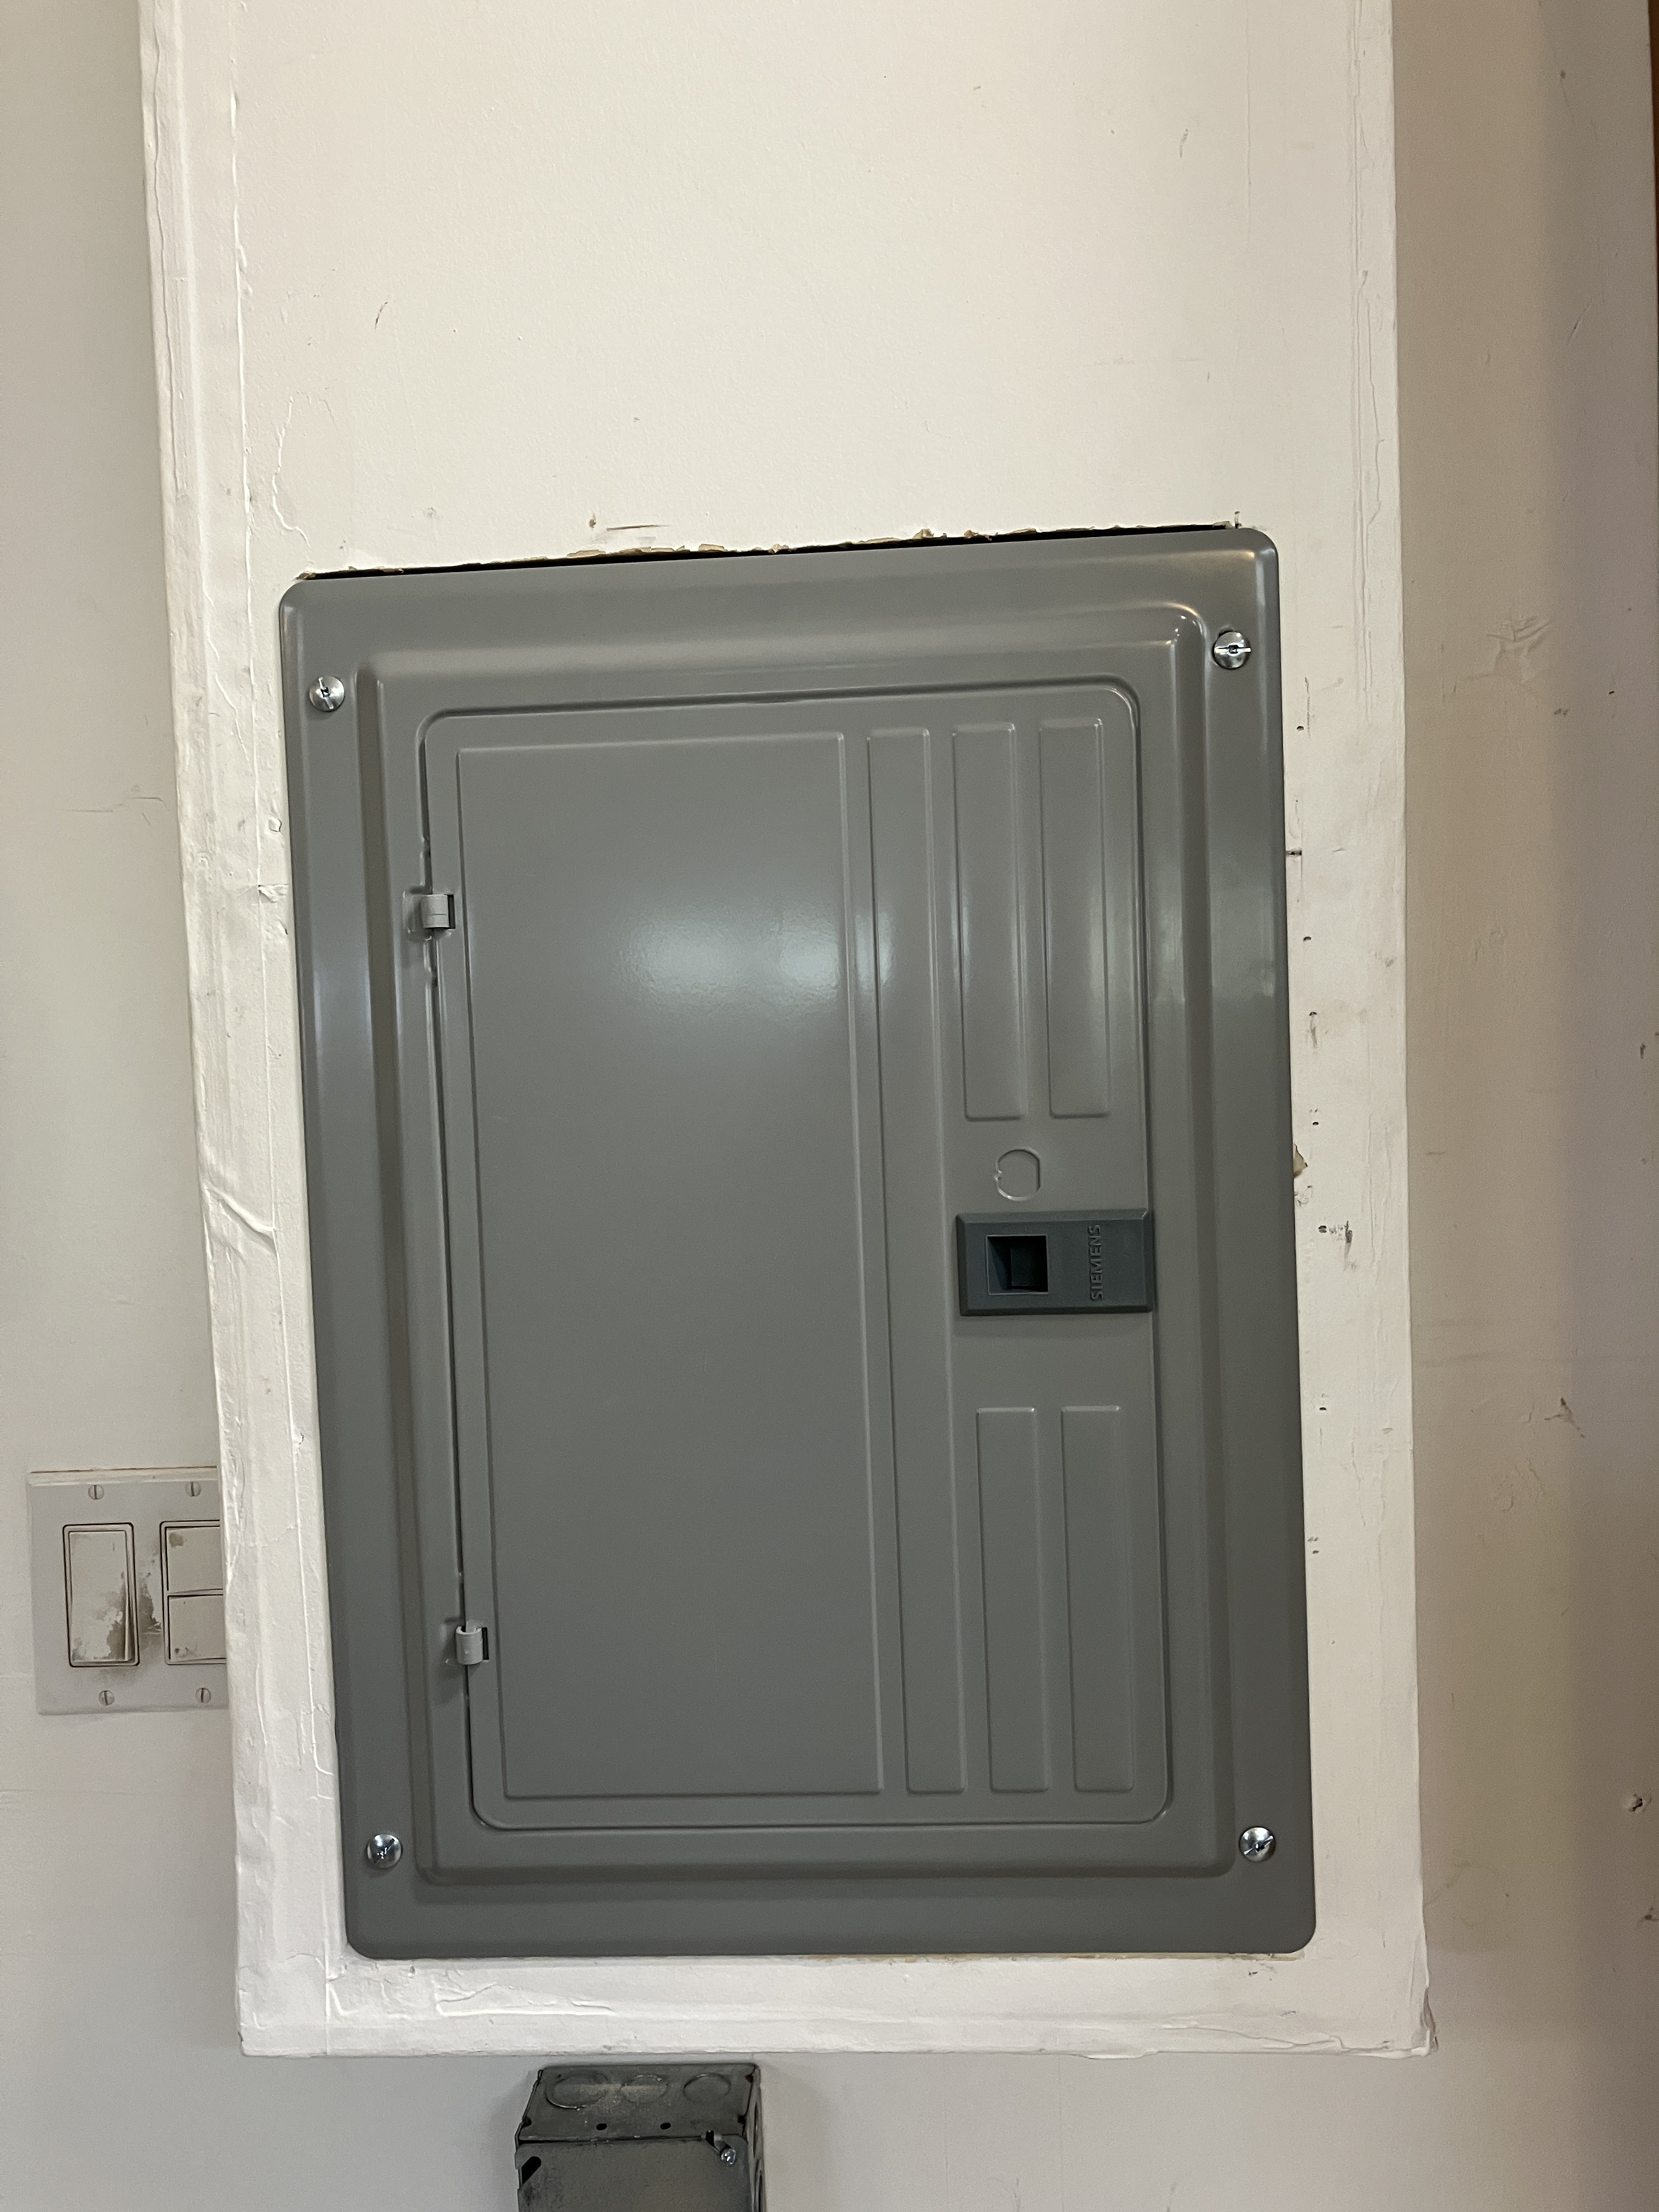
I had planned to use the ones who did the initial electrical work in 2013 as I was happy with their work.  The only downside was that I had used all of the breaker locations in the sub-panel and needed a new sub-panel which was going to greatly increase the cost.  The electrical work was going to run $2K (about what I had expected) and the new sub-panel was going to run $4K (ouch!).  The good news was that I had saved up the cash.  The bad news is that this is going to delay when I can get my dust collector.  Patience is a virtue.  I saved some money by pulling the permit myself.  My local city has a great city hall and all the departments have reps sitting at a long counter when you come in.  It really helps if there needs to be cross talk or questions.  The permit ran several hundred dollars.


The install work itself was uneventful.  The only minor hiccup was the wrong color of light was installed I wanted 6,500 K (very white) rather than the 4,000 Kish (yellow) they had brought.  No problem at all and they installed a new fixture.  As I had expected based on prior experience this was easy and hassle free to get corrected.  The one upside was that instead of two 4' two bulb fixtures, I was able to get two 4' four bulb fixtures.  I didn't know those had existed and I was quite happy when I heard about them.


All in all, I'm very happy with the work done.  The inspection was straightforward.  I had thought I was going to be able to purchase the dust collector this summer as well but it looks like I will likely need to wait until late 2023/early 2024.  I really don't need to use the bandsaw until early 2024 so it will be ok.  While I was at it, I swapped out the original fluorescent bulbs for LED drop ins.  That added a bit of brightness as well.  Even found a local woodworker who was happy to have the still functioning fluorescent bulbs to reuse in their shop.


Since I needed to move things off the walls and out of the way, this also resulted in an opportunity to do some reorganization in the shop.  I did that and my next post will focus on the shop reorganization.  My shop has come a long way since I did the initial remodel in 2013.  I've never blogged about the initial 2013 work (I think).  Below are the photos of the 2013 work just to document it.  I don't want to delve into detail.  I upgraded electrical and more lighting, insulated wall (really hot where I live), put new garage doors which had insulation, hung cabinets, overhead storage racks, and had the floors done.  Much later 2021 came the ductless AC.  The worry in 2013 (a year into my living in the home) was whether or not woodworking would really be a hobby I spent a lot of time doing.  I thought so but only time would tell.  I can confidently say that I spend a lot of time in the garage woodworking 10-20 hours a week.  As such, I feel that the money was well spend.  Sure, I'd like a 1,000 square foot outbuilding but I don't have room for that and the shop is very nice the way it is and I am quite happy with and content with what I have.