25 June 2022

Krenov Wall Hanging Cabinet - Making the Door Panel Part 5 of 6

 One of the things that really appealed to me of this Krenov cabinet.  It mostly but not completely blocks the contents of the cabinet.  For what I wanted in this cabinet this was perfect.  I decided to use this panel as an opportunity to have a nice complimentary wood.  I was at Rockler and I found a really nice piece of figured maple that was either 3/4 or 1/2" thick.  Wasn't cheap from a board foot perspective but I didn't need that much.


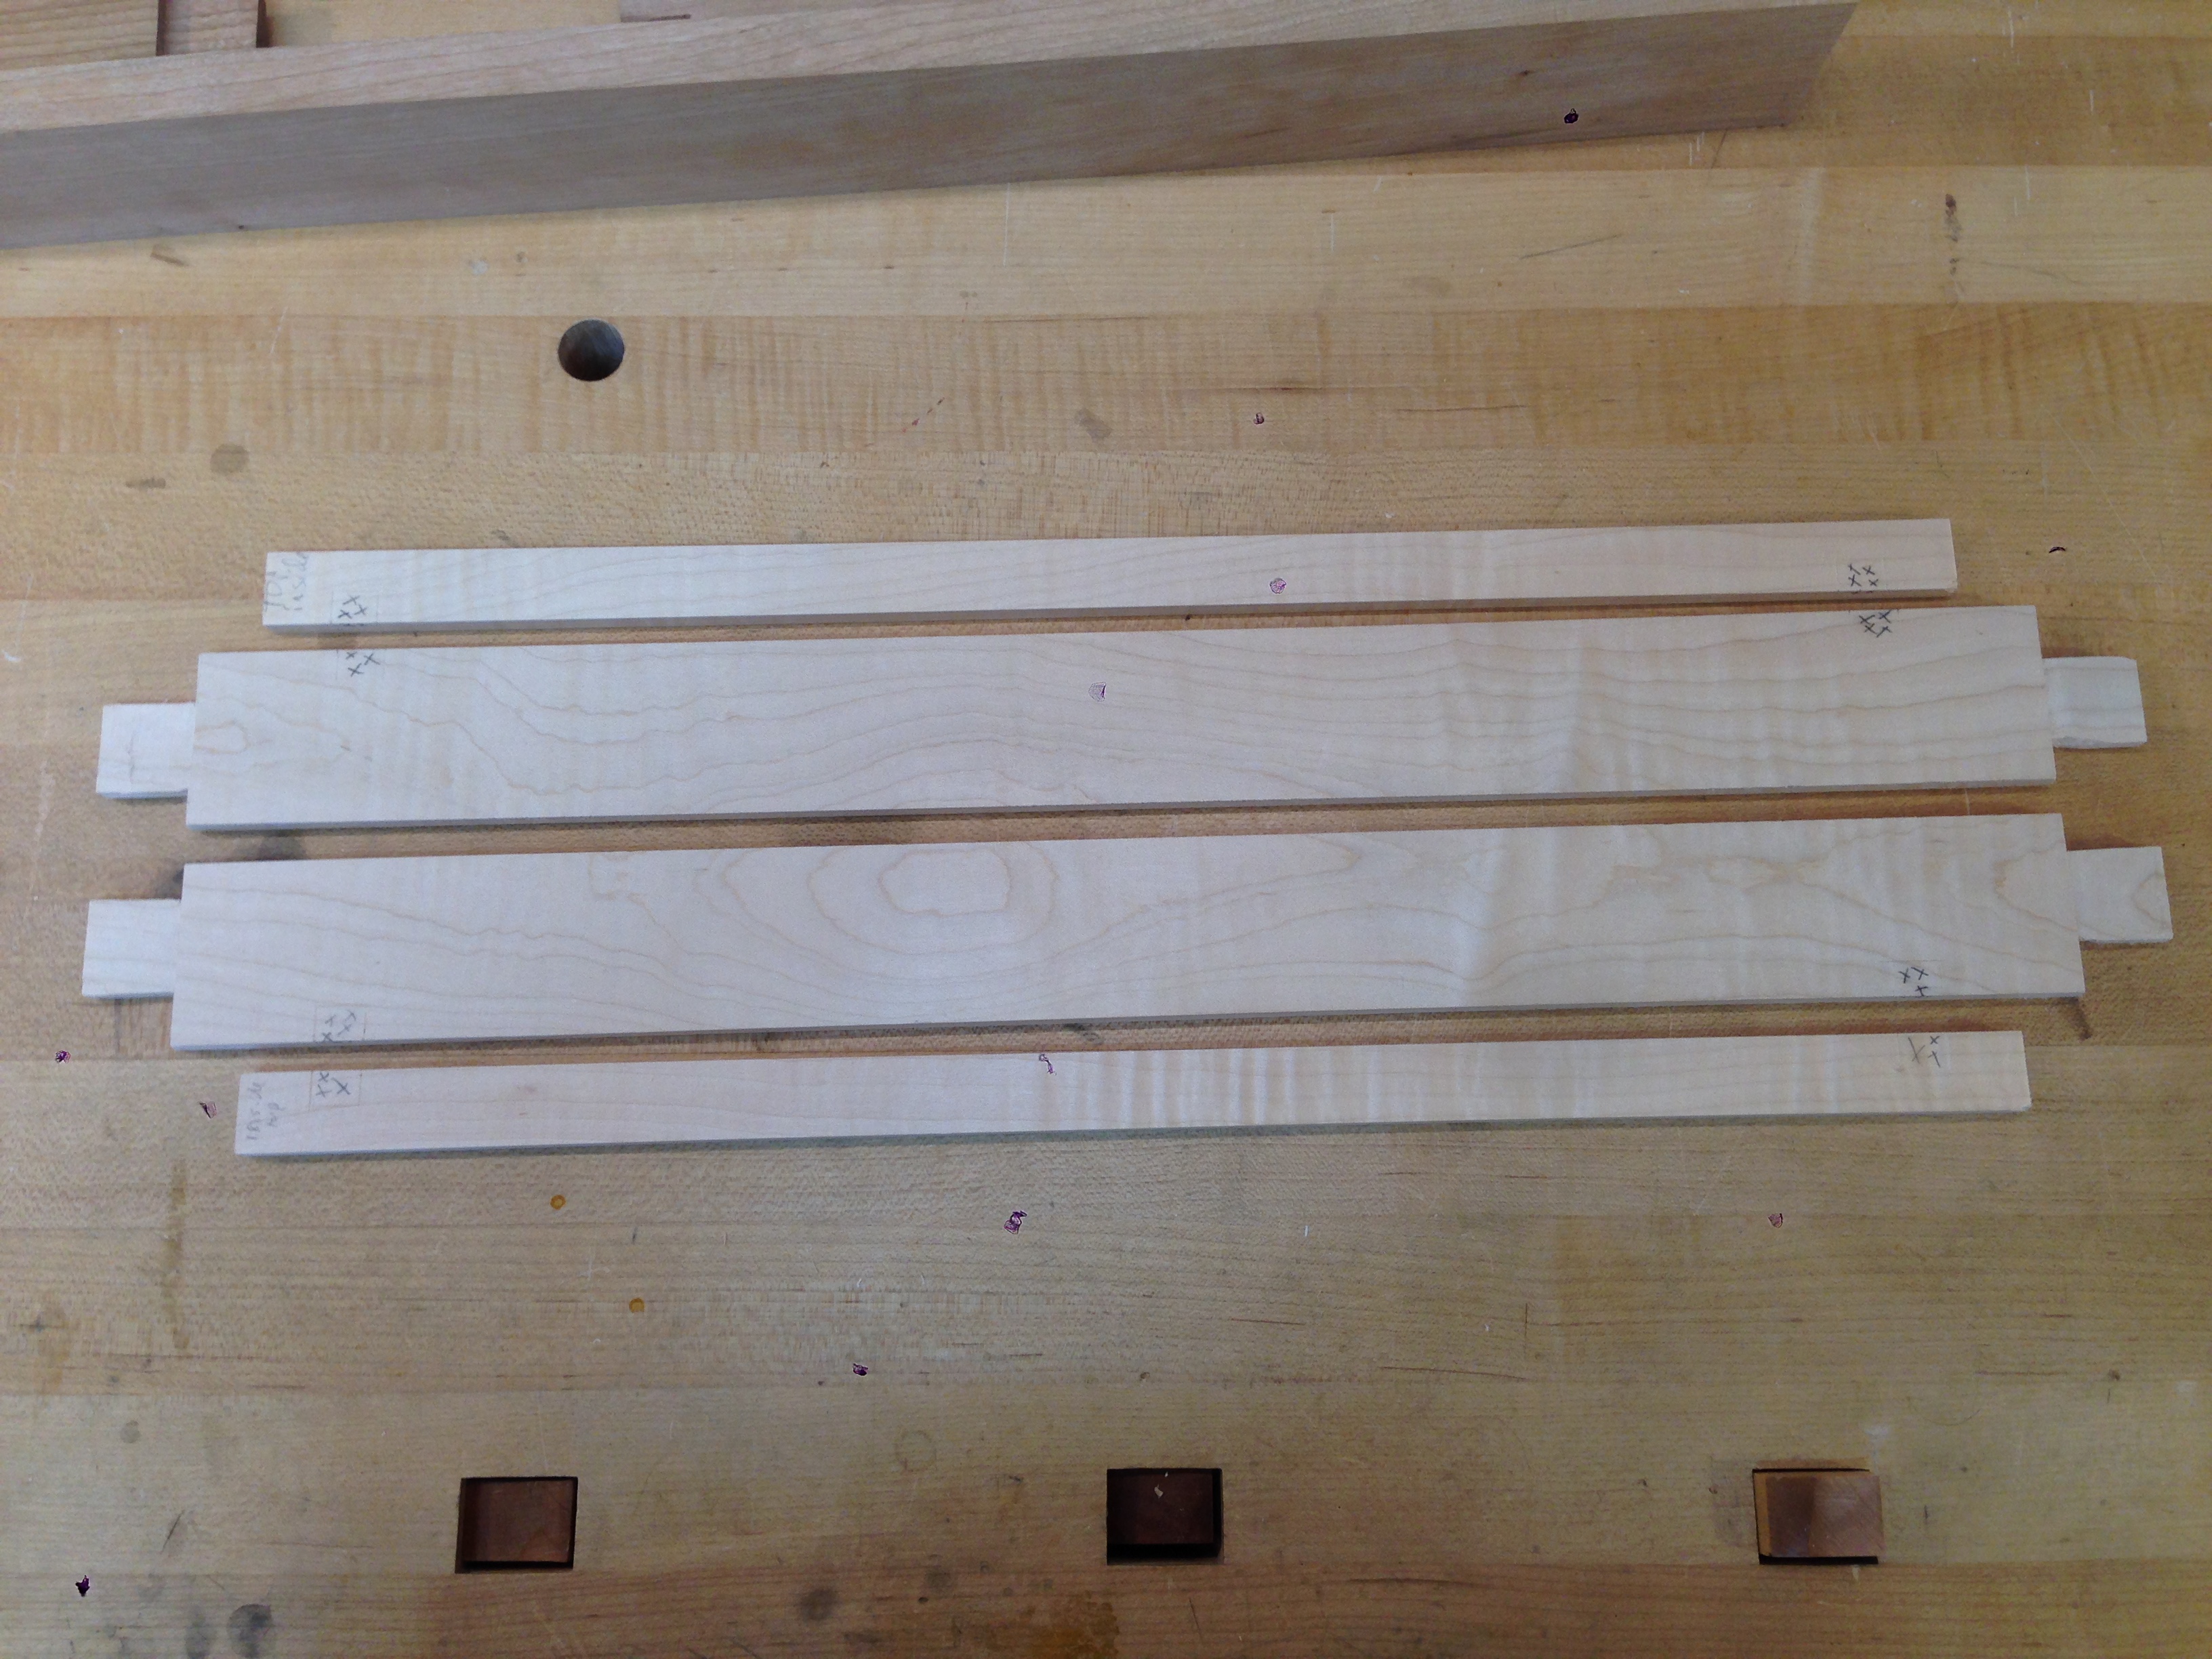
The biggest problem with the piece of maple was that it had a significant bow in it.  With lots of patience and careful work,  finally got rid of the bow; however, my stock ended up being about 1/4" think.  I was hoping to have 3/8" thick.  Oh well, really won't matter from a functional perspective.  Put 1/4" mortises on the rails.  I decided to attach the two shorter panel pieces to the large one by wedges of wood.  There is probably some sort of fancy name for this connection but I don't know what it is.  Came out good.  


After the glue up of this panel, I prefinished it with blond shellac that I made up fresh (ca. 1-1/2 lb cut) that I dissolved in 97%ish isopropanol.  Why isopropanol you ask?  Just before Covid became a big issue in the USA, I stocked up on a bunch of bottles of it for disinfecting.  I didn't use that much for disinfecting.  Since I have it around, I have repurposed it.  As best I can tell, it works just about as well as 190 proof ethanol; maybe it took the shellac a bit longer to dissolve in the isopropanol..  I was curious so that is why I did this experiment.  Generally speaking, I'd prefer to use 190 drinking grade Everclear for my shellac.  I will likely use the remaining isopropanol to clean my shellac brushes since it costs a lot less than any form of ethanol I can purchase.

The door glue up was uneventful.  Project is really close to completion (one or two more posts).


18 June 2022

Krenov Wall Hanging Cabinet - Mortises by Hand - there is hope for me yet Part 4 of 6

 In a recent project, I needed to make a small door frame.  In the past, I have used a mortise machine to cut the mortises based on a bad experience I had a few years about cutting mortises by hand.  Now, I will admit that the machine does an excellent job of cutting a mortise.  If I had a lot of mortises to do I would probably use the machine.  However, I felt as if I was using the machine right now as a crutch for my inability to cut them by hand.  This bothered me.

So, on this upcoming project, I needed to do mortise and tenons and I decided I would do the mortises by hand.  I've always done the tenons by hand (found that very easy).  For this, I did two things:

1. Used a proper mortise chisel.  I could have gotten by without BUT it was a way to entice myself to do it by hand.  Much in the same way I have enticed my 10 year old to do certain things by promising ice cream afterwards.  In this case, the chisel would last much longer.  


2. Paul Sellers has an offset jig (first photo above) he has created so that you can register the mortise chisel and make it easier to align it.  I made a quarter inch offset for this project and I have found that a quarter inch offset if likely my most frequently used offset for mortises so I knew this would be handy.

I took my time making the mortises.  I tried with and without the jig.  In all cases, the mortises came out nice and tenons I followed up and cut fit well.  For the tenons, the helpful trick I learned by Paul Sellers (my primary instructor and I like to give credit to where I learned things), I cut the tenons fat and the use the hand router plane to get them thinned to the appropriate width so that they are self supporting.  I was quite pleased with myself.  In future projects, I will continue to cut mortises by hand.  It's not as difficult as I remember it being.  Amazing how one bad memory can make us reluctant to continue to do something.  Can't help but wonder what else in life I am avoiding because of a bad first experience.


Next week I will discuss the "panel" I use inside the frame.  What Krenov did on this cabinet for it was what really attracted me to it.

15 June 2022

Broken Project Update - Better and No Longer Horrible Enough to Burn

 Just wanted to give an update on this project.  I am making the Paul Sellers Keepsake Box as taught on his MasterClass series.  The angled dovetails and curved sides added some nice complexity into this build.  It became obvious fairly quickly that the first one of these is a practice prototype.  I will likely make at least two more practice versions (most likely out of cherry as I have a lot of scrap cherry or poplar).  Then, I will make the final version as a gift to my wife out of some awesome birdseye maple (found on eBay; will shop there more often for wood) and genuine mahogany.  

The challenge in the first version was I wanted to try it out of a new wood I hadn't really used before and I chose (poorly in retrospect) to use Spanish cedar.  It's a very soft and fragile wood that had a catastrophic crack develop despite careful clamping and dry assembly practice.  Last post I glued up the cracks.  In the comments, Ralph of the Accidental Woodworker had suggested I use inlay to further hide the cracks.  This was an awesome idea and I have done so.  On both the cracked and uncracked sides I used some store bought inlay I had to provide symmetry so it looked like this was intentional from the start.  I used a mixture of small router and chisel to create the grooves and attached the hinges before running up the vertical inlay.  Hide glue and blue tape was used to clamp it all up.  Then, I used a block plane to make all things flush on the curved surface.  I got some parts of the inlay that teared out.  This is frustrating and while I could go ahead and fix that, I am going to call this good enough.  The dovetails, especially on one side, aren't that good.  As such, this is practice piece.  Mostly wanted to use this as an opportunity to practice fixing/hiding an error.  It looks much better than the bad crack.  To that end, I accomplished the goal.  This box will either end up as a gift to my 10 year old, or, will be used in the kitchen to house the packets of sweetener.  

There is still plenty wrong with this box and it is ugly enough where I don't want to put my makers mark on it.  However, it is no longer horrific enough where I want to burn it.  I will say this, fixing a mistake after the fact takes a significant amount of time.  So much so, that whatever extra time one spends avoiding or mitigating risks is probably worth the investment.  Mostly want to get this box finished so I can get ready for a class I'm taking on dovetail making.  The rest of 2022 will be spend on making this style and similar small boxes.  The good news is that I have the wood already in the shop equilibrating for the next few big projects which I should get to in early 2023.  Also looks like I have all the wood I need for 2023 projects.  If not, there shouldn't be a big outlay of cash for more wood.  I've got a hankering to make a full sized jointers (via ATC plans) chest and despite wood prices, the 1x12s in pine wouldn't be that bad of a cost.


Here's the future bird's eye maple.  I have enough for at least two boxes.  Was expensive but will give me/my wife a nice box once I have the skill honed for these tricky dovetails.  The top and bottom will be mahogany.  Of course, any left over scraps of the mahogany will be saved for tool handles, etc.  I have a birdcage awl kit I plan to make so a little nub of this birdseye maple will go a long way.


13 June 2022

Final Got an Instagram Account - joeleonetti1

 I canceled my Facebook account about a year and a half ago.  I found FB to be toxic and drained my energy.  I don't miss it.  I had skipped Instagram thinking it would be a similar experience.  Some woodworkers convinced me that is not the case so I signed up.  Wow!  I really like it.  I don't plan to stop blogging but I will likely post more informal in process photos via Instagram.  Should any of you wish to "follow" me, I believe my account is joelonetti1      I know, I spend seconds agonizing over the name.  I put up one posting of a tea box I made 6 months ago.  Gotta dig more into the posting nuts and bolts. 


11 June 2022

Krenov Wall Hanging Cabinet - Carcass Glue Up and Back Construction Part 3 of 6

 With the dovetails done, dados, and grooves for the back completed, it was time for glue up.  To help make my life easier, I used Titebond liquid hide glue as I like the slightly longer open time I get with it.  I probably don't need the extra open time but it takes some of the mental stress out of the glue up knowing I have it.  A few swipes with a hand plane and the outside dovetails are flush.  They came out decent.  I'm happy with them and they might be some of the best I've done to date.


After the glue up was out of the clamps, it was time to make the back boards.  This was going to be easy.  I had scrap 1/2" cherry from another project of a perfect width so I could use three boards.  I have a tongue and groove plane so I used that.  It's a handy tool when I infrequently need it.  Then, I put a bevel on the inside edges to make the connection a feature.  Then, I did a bit of mental math after the tongue and grooves were done to sort out how much to cut off the outer boards so there was some symmetry on the grooves.


With this all done, it was time to move onto the mortise and tenoned, door.  That will be the next post.  So far so good.  Project is taking longer to do than I would like but so what.  It's a hobby and I'm happy with how it's coming together.

08 June 2022

Damage Looking Better But Will Always Be Visible

 Last week, I posted a blog where I was making a Paul Sellers Keepsake Box out of Spanish Cedar.  Due to my level of inexperience and the soft, fragile nature I had a major breakage in one side despite dry fittings and being gentle in the glue up.  It took a lot of wind out of my sails when this happened so it's taken me a while to work on it.

I first had to saw the top off of the box.  That was uneventful.  Now with the bottom and top separated, I could go about the repair.  I used a variety of cauls and covered them in packing/cellophane tape and glued the pieces up with Titebond Liquid Hide Glue.  The top also required gluing in the perpendicular direction.  After that was done, I used my low angle block plane to clean up glue squeeze out and flush up the still uneven surfaces.

It looks much better now.  It will never be perfect and the cracks will likely always be visible.  I plan to try some wood filler to see if it helps.  I'm not happy about what happened but it will still be functional.  My daughter will love it as is.

The next one should be a lot better based on what I learned from this.  I have decided on the wood to use - birds eye maple for the sides and genuine mahogany for the top and bottom.  I've worked with maple before and I don't think I will have the same issues in terms of fragility.  Will explore using maybe some foam between the box and cauls during its glue up.