I have been looking for a while for a wall hanging cabinet to put in our bathroom for additional storage. I just hadn't found a design I wanted to make. Then, I received the Feb 2022 (issue #263) and on page 50 I saw it (project # 2202). It was a Krenov cabinet I had seen before. I am a huge fan of Krenov's work so I was excited. Not only would I have a wall cabinet; it was a Krenov design. The approximate dimensions matched well with our home needs and I had enough scrap cherry to make it from that had some nice figure. For the front, I decided I would buy some nice figured maple. I really like the look of cherry and maple.

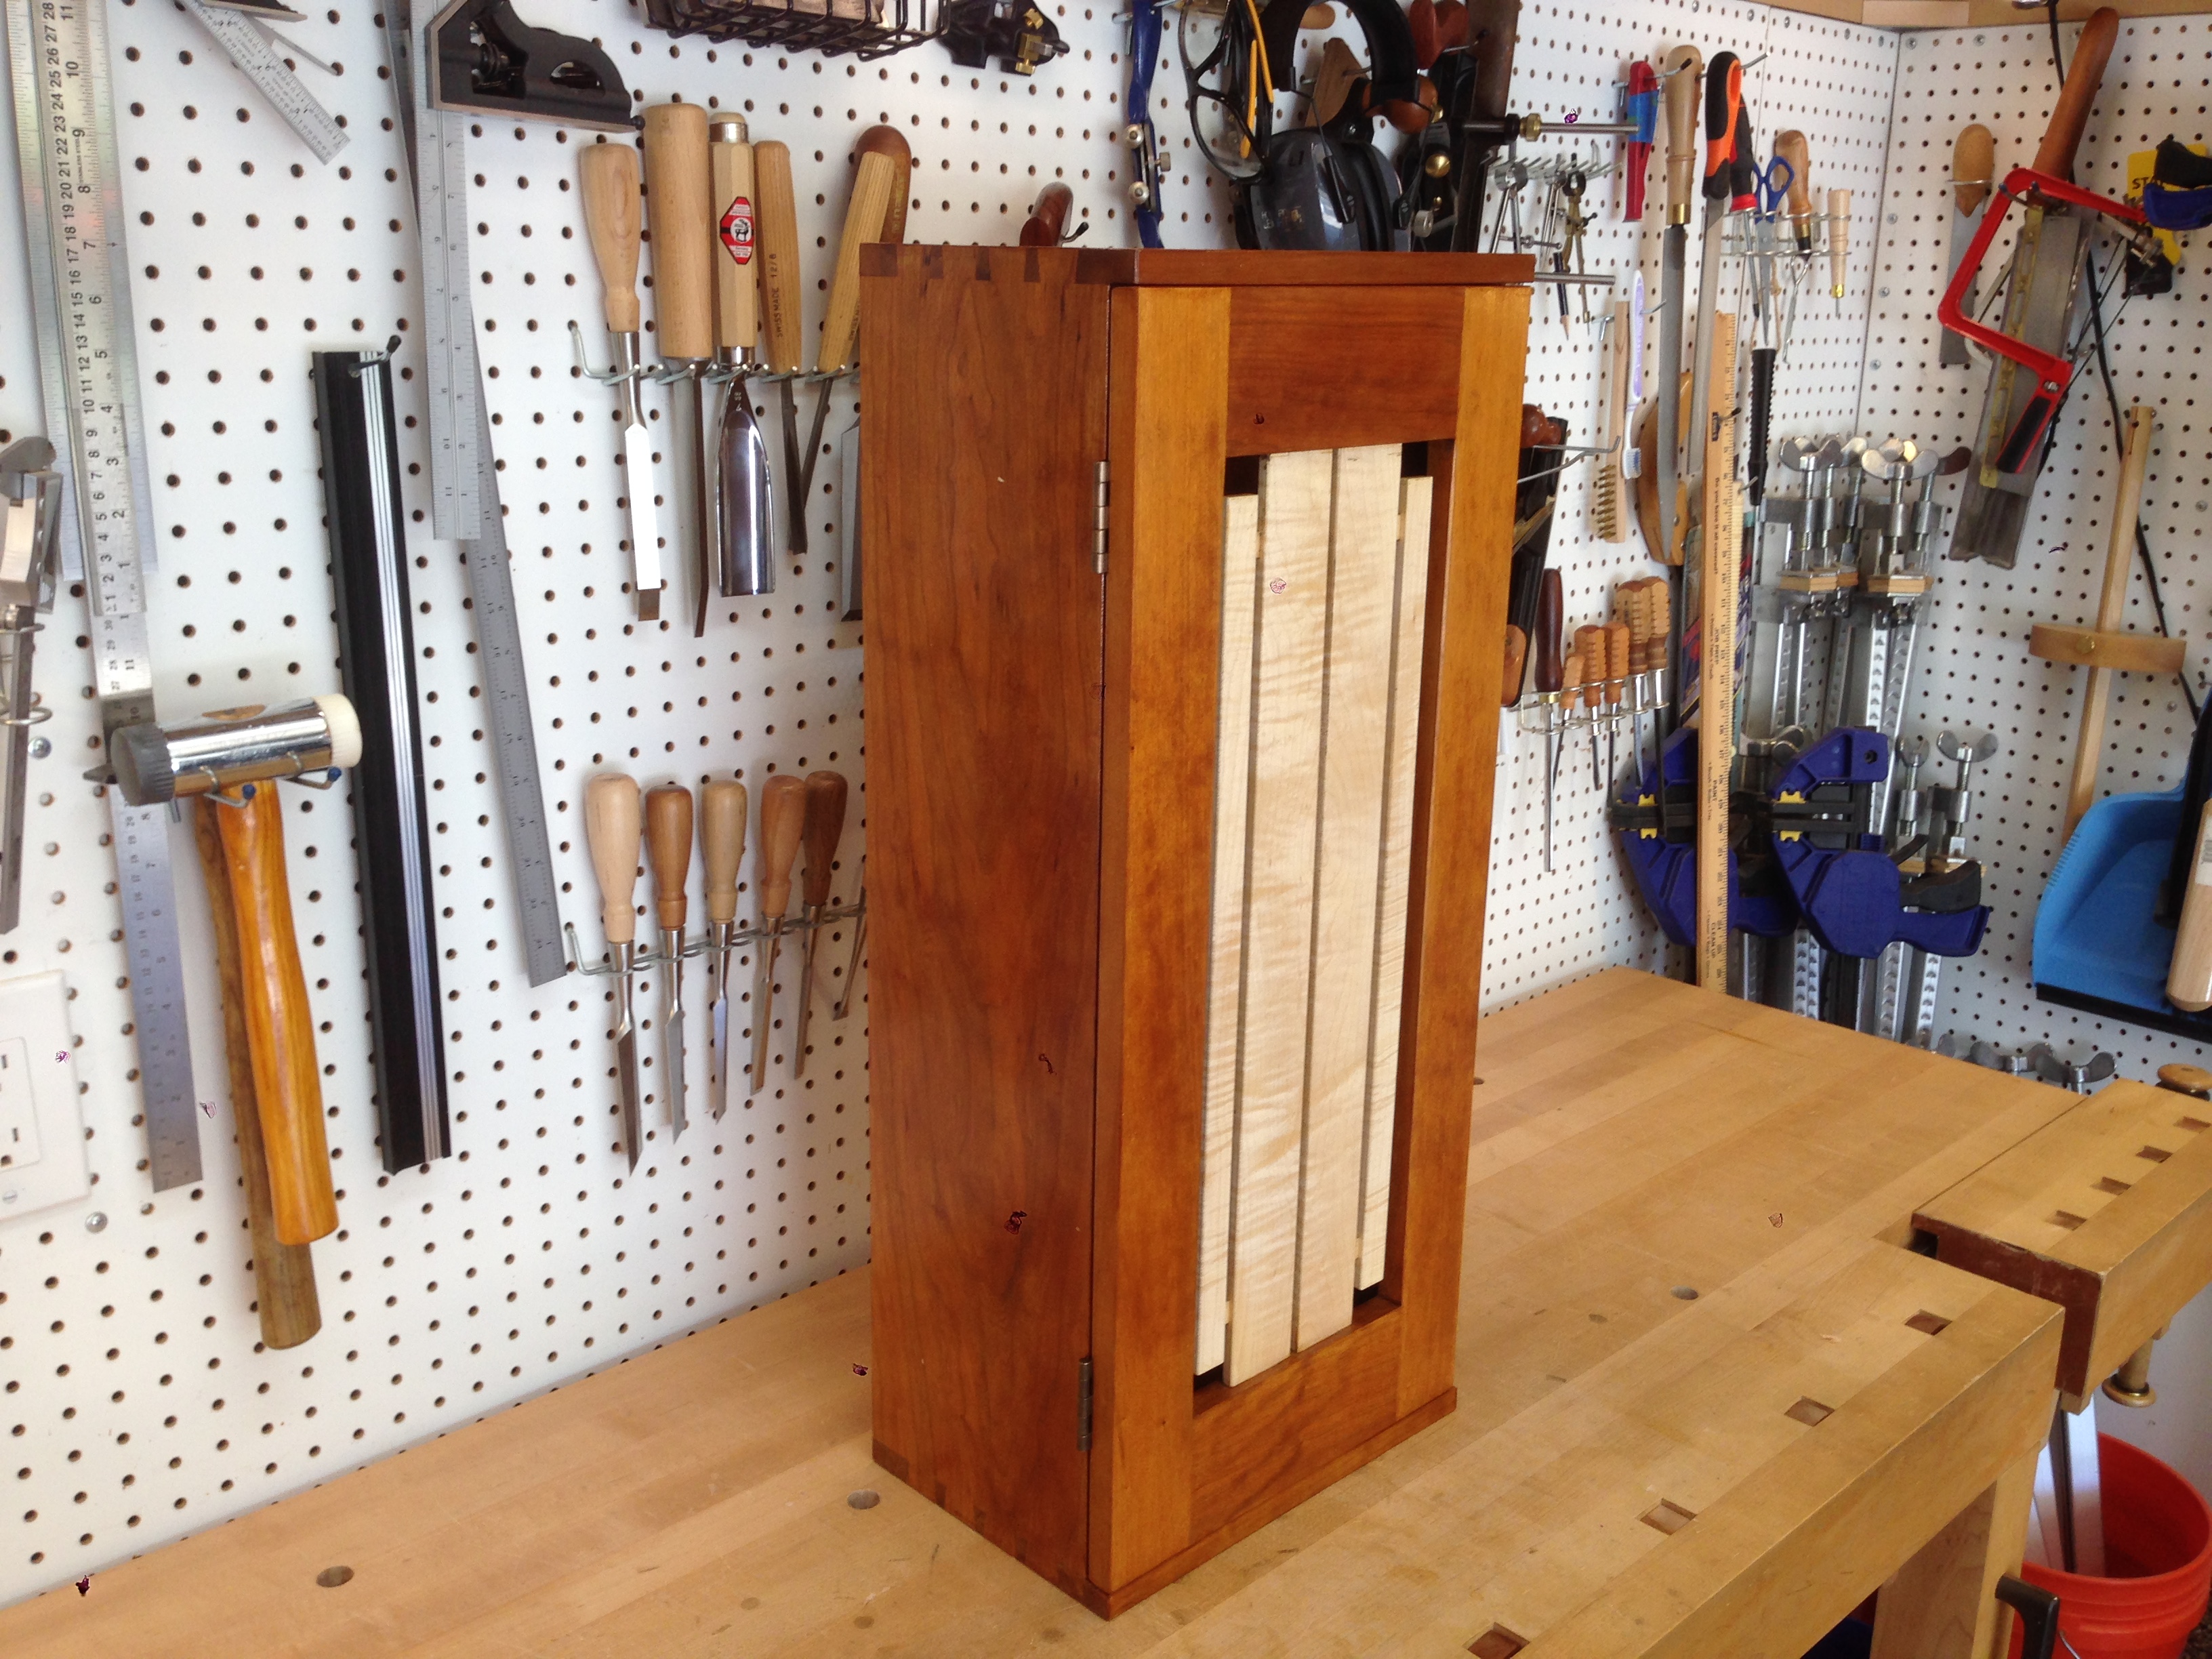

As for the construction itself, dove tails, housing dados and grooves for the back. I planned to attach it to the wall by a French cleat. For finish, I would keep it simple and use shellac (garnet for the cherry and blond for the maple) that I would make from flakes.
As for the specific dimensions, I didn't follow the plans exactly. I used the intended contents as well as available wood at home. It was maybe six inches shorter than the plan and an inch wider. Again, that was fine as I had a specific purpose in mind.

Preparing the cherry stock was straight forward and uneventuful. I did have a few areas of reversing grain that was prone to tear out despite having sharpened the plane blades. I have a "secret weapon" to help with that, it is a 4-1/2 hand plane that has a 55 degree frog in it. For most of the tear out, that high angled plane helped. For the little few spots where I still had tear out, I used a card scraper. The other thing I did that I was pleased with myself was I measured the thickness with my digital calipers and then used the hand plane to get the wood to a uniform thickness (note: I only have the before photos; didn't think to take the after photos). With hand tools, that is a bit more work and over each project I find that I am getting more demanding of the exactness of tolerances (where it matters).


In terms of laying out the dovetails, I wasn't concerned with duplicating the magazine version of the Krenov. I did want the pins to be somewhat narrow. What I really liked was how the top and bottom boards of the cabinet (where the pins will go) are wider than the sides. This made the layout a bit more tricky. Having said that, I like adding something new/more challenging to each build I do so I was looking forward to this.
In terms of dovetails, I also wanted to really and try and make them even better than the past. My dovetails are not bad. I just want them better. As such, I really slowed down. I found a couple of tricks I had seen from Paul Sellers and Kevin Drake to be helpful.
Helpful thing No 1. I cut a thin <1/16" rebate on the back of tail boards prior to making the tails. This helps in the positive registration of the two boards when transferring the tails onto the pin boards. Also, this slight rebate will hide any gaps on the inside of the dovetails should you go past your mark when cutting out the pins later. I've seen Paul Sellers do this and that's where I learned it from.


Helpful thing No 2 After marking out the perpendicular to the wood locations for the tails, I used either a knife and then chisel to make a knife wall before starting the cut. Again, I learned this from Paul Sellers. Alternatively, I used a Glen Drake scraper to create a groove this is the same width as my saw kerf. What it does/certainly did for me is to help ensure you get a perpendicular cut across the tail. The exact angle down isn't critical but a square as cut across as possible is. So far, the best way I have found to accomplish this.


For removing the tail waste, I have tried a lot of different methods just to see what I think of them beyond what others have to say. I prefer to use a chisel to remove the waste. I don't like as much the method of where you first remove the bulk of the waste with a coping saw then chisel out the little bit as you halve your way to the scribe line. It's not like a huge Ford vs. Chevy pickup truck debate. Also, if I were taking a class and they wanted us to do a different method, I would do the different method. I just think I get the cleanest cuts chiseling out the waste. If you prefer a different way, I will still be your friend as it were.


For transferring the pins onto the tail board, I used a knife then I created knife walls. I chiseled out (without a coping saw) pin waste. The gaps were less than prior ones. However, they were a bit too snug and eventually in the build a got a crack to form on one of the pin boards. I glued up the crack but it reopened later on during final assembly. I have historically been having a problem with cracking the boards from my pins and tails being too tight. I have a potential solution to try on my next build using an offset technique I learned from Kevin Drake at a woodworking show that should solve this. Kevin Drake has videos on YouTube you can look up. Basically, in hardwoods the tails are six thousands (ish) bigger than pins and he uses shim offsets to accomplish this.


Well, the blog is getting long. Despite the crack, I am happy with how the pins and tails came out. I am also happy with the size of my tails. In the past I have felt my tails were a bit wide looking. Functionally they were fine but I wanted a slightly more refined (in my eye) look.


No comments:
Post a Comment